Inventory Master
Maintenance/Inventory
Stock item maintenance is centralised and managed through the Head Office system. To access and maintain stock items, follow these steps:
1. Go to the "Maintenance" menu.
2. Select <<Stock Master>> under the "Inventory/Stock" heading from the menu options.
When you add or modify an item in Ramsys, the Communications Manager will automatically propagate the changes to all stores.
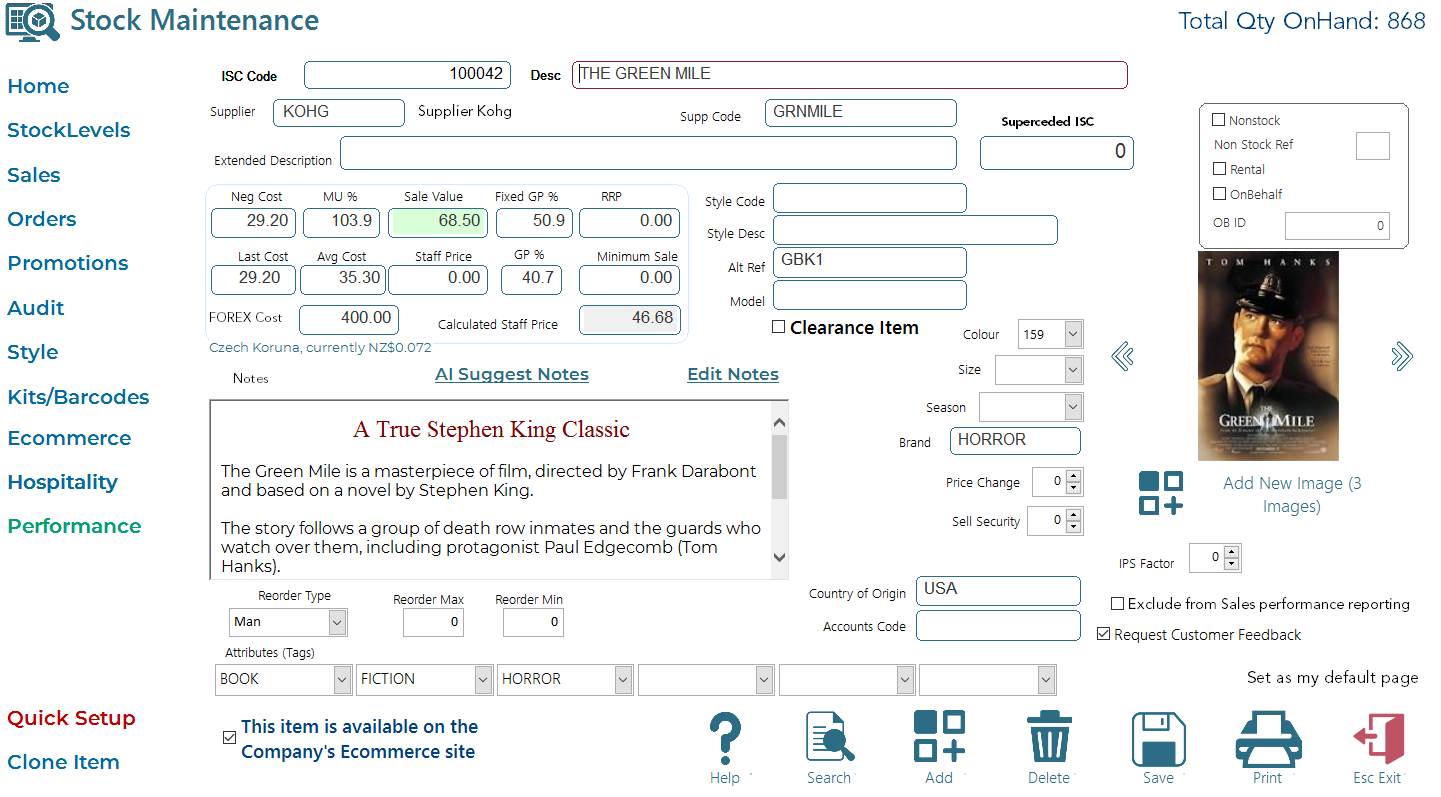
The first page contains general information for individual stock items, including the option to display an image if available.
Adding a New Item:
Press <F4> to generate the next available ISC (in-store code), a unique identifier generated by the system for each stock item.
Description: This is the complete item description displayed on the POS screen, sales dockets, COP's, and reports. Optionally, you can enter a label description, which will be used on stock labels when printed; otherwise, the full description will be used.
Supplier: Enter a valid 4-character code to identify the item's supplier. Note that the supplier must exist in Ramsys (refer to Supplier Master).
Extended Description: This field allows up to 100 alpha-numeric characters for a more detailed product description. It can also be uploaded as the item description on your website.
Neg Cost, Markup & Sale Value: Enter the expected supplier cost in Neg Cost (Negotiated Cost). If a Fixed Cost is set for the item, tick the Fixed Cost option. Entering a markup % will calculate the retail price (Sale Value) as Neg Cost x Markup %. If only a Sale Value is entered, the system will calculate the markup % based on the Neg Cost and Sale Value, along with the GP%.
Note: Ramsys, by default, uses the Sale Value as the listed price, including tax, for retail customers.
- Superseded ISC: This field indicates that two items are similar, and their quantities on hand should be combined when calculating orders.
- Sale2, Sale3, Sale4 & Sale5: These fields allow alternative sale values assigned to different locations, enabling variable pricing at different stores. Leave them at 0.00 for the system to use the main Sale Value.
- Supplier Code: This is the reference used by the supplier to identify the item and is used for purchasing orders and stock receipting.
- Tradesell 1 - Tradesell 3: These are retail prices used when selling to trade accounts.
- Reorder Type: Defines how the ordering system handles the item - Auto items are reordered automatically, Manual items are not, and Discontinued items may not be reordered.
- Reorder Min/Max: The system will reorder stock up to the maximum when the level reaches the minimum (refer to Page 2, Stock Levels).
- Pack Qty: Specifies the number of items in a pack as supplied by the supplier. For example, if the pack qty is 5 and you require 3 items, the system will order 1 from the supplier, increasing the on-hand qty by 5 upon receipt.
- EOQ (Economical Order Quantity): Allows ordering items in bulk; for instance, if set to 10 and 3 are required, the system will order 10. Note that this differs from the pack qty.
- Last Cost: Records the last cost at which the item was received at the POS, used for averaging costs in GP% calculations.
- Last Date: Indicates the last date of any action performed on this item.
- Last Sale: Records the item's last selling price.
- Last Order: Shows the date of the item's last order.
- First Date: Displays the item's creation date.
- Adds to Club Member Balance: When enabled, the system adds the item's retail value to a club member's balance upon purchase.
- Staff Price: Sets the price for staff sales based on the system's staff markup setting.
- Last Sent to POS: Records the last time the item was extracted to the Point of Sale.
- Sell Security: If set to a value greater than 0, authorisation is required before selling the item.
- Price Change: If set to a value greater than 0, authorisation is needed before changing the item's price.
- Exclude from Level Calculator: Sales of this item won't count toward the salesperson's bonus if checked.
- Warranty Number: If not set to 0, a warranty/serial number is required when selling the item and is available for future searches.
- Non-stock: Checking this box means the POS won't track the on-hand quantity for this item. You can also set up non-stock types, each following specific rules.
- Date Trial Ends: Sets an end date for item trials; some reports allow filtering for trial stock only.
- Cost is Fixed: When clicked, the POS will only allow receipting at the specified cost.
- Consignment Stock: Indicates that the stock is on consignment and is not paid for until sold.
- Do Not Print Tags: If an item's packaging has a bar-code and adequate description, clicking this option prevents unnecessary tag printing upon receipting, although manual tag printing at the POS is still possible.
- Attribute Tags: Attributes are used to categorise and sort data, providing a detailed classification for items. Every item must have at least one attribute. Enter the desired attribute or use the drop down to select an existing one
Add Images
 Ramsys can efficiently store multiple images for each item, which can be showcased both at the point of sale (POS) and on your e-commerce website.
To upload an image, simply click the "<Add New Image>" button. The system will automatically duplicate the image and save it in the database, making it accessible in the cloud.
The second line beneath the button indicates the number of images associated with the item. You can navigate through these images using the next and previous arrows.
For further actions, right-click on the image to either download or delete it.
Notes
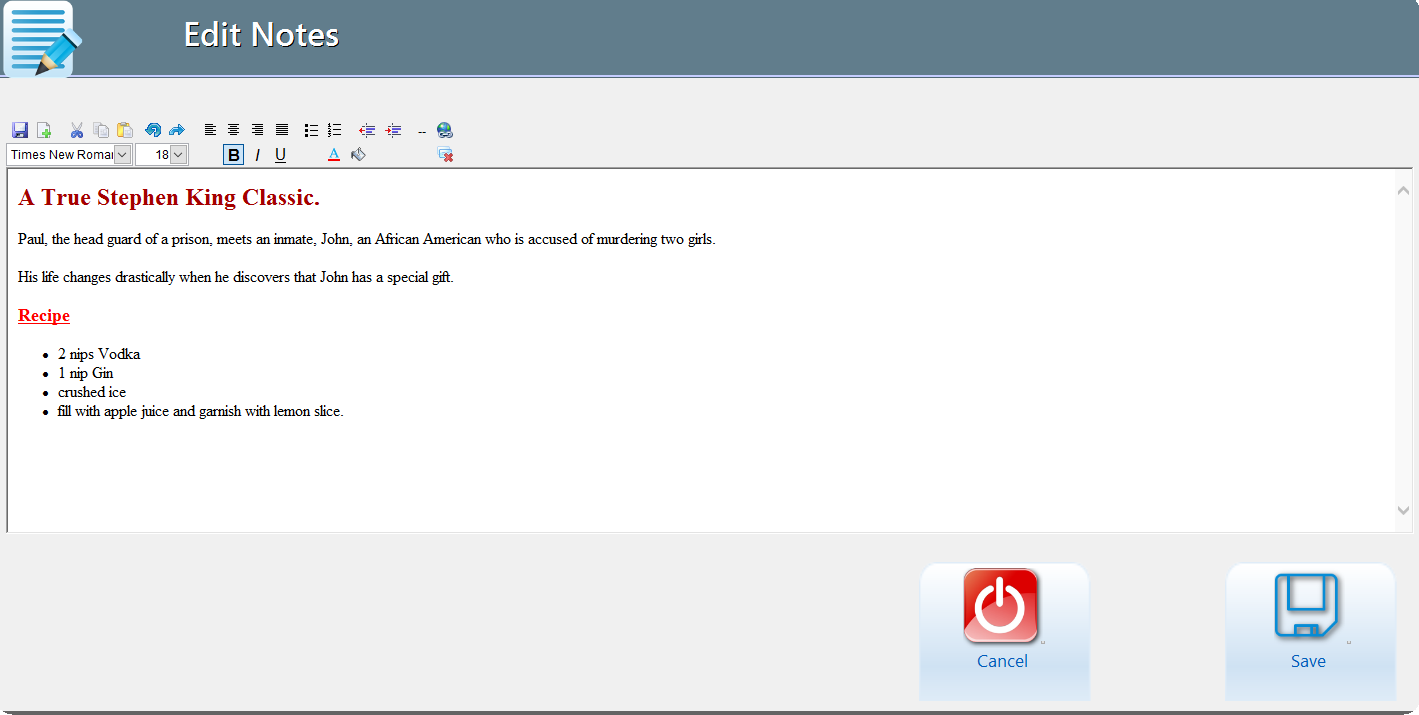
Ramsys supports HTML-formatted notes, granting you the flexibility to choose font attributes like colour, bold, underline, size, and more. These notes are presented exactly as they will appear on both Ramsys and your website.
To make edits, simply click on the "<Edit Notes>" tag, customise the notes to your preference, and then save by clicking "<Save>."
AI Suggest Notes
Generating notes for the notes field can often be challenging.
To simplify this task, Ramsys incorporates AI-powered note suggestions. To utilise this feature, click on the "AI Suggest notes" tool.
A dialog box will appear, prompting you to provide a brief reference for guidance. Typically, the default description of the item will generally suffice for this purpose but the more precise you are the better the result.
The AI will then create sample notes for you and transfer you to the notes editing section as above. All that's left for you to do is format the text according to your preferences.
Updating Shopify
Ramsys talks directly to Shopify via an application interface making the process simple for you. To tell Ramsys to maintain stock check the <<Item available on the companies website.

if this box is ticked upon save the system will ask if you wish to update Shopify, click Yes and Ramsys will perform the required task to add the new stock item as a draft or if it is existing update the details. From this point on Ramsys will maintain the qty onhand in shopify as sales, receipts, stocktakes and transfers occur.
Quick Setup
To expedite the process of adding new items, select <<Quick Setup>>. If you find it more convenient, you can set it as your default.
This page consolidates the most frequently used fields onto a single page for ease of use.
Deleting Stock Items
You may at any time click the delete button to delete stock items. To understand what this does see here.